
Set up Backup Sorcery
Backup Sorcery for Autodesk Forma (formerly Autodesk Construction Cloud) and BIM 360. About fifteen minutes, once, and then it's a click.
Before you start
- Windows 10 (version 1607 or later) or Windows 11, 64-bit (x64). ARM64 PCs are not supported.
- An Autodesk account with access to the projects you want to back up.
- Someone who is an admin of the hub. A project admin is not enough. If that is you, you can do every step yourself.
- About fifteen minutes, once.
Backup Sorcery needs the .NET 10 Desktop Runtime (x64) on the PC; it is not bundled with the app. If it is missing, the installer downloads Microsoft's installer for it and runs it; you are not asked. Windows asks for administrator rights for that step, which on a company PC usually means IT. If the runtime is still missing afterwards, setup stops without installing anything and shows Microsoft's download page link.
Step 1 — Create your Autodesk app
Where: https://aps.autodesk.com/hubs/. Autodesk's tutorial is https://aps.autodesk.com/en/docs/oauth/v2/tutorials/create-app/.
- In your developer hub, open Applications and click Create application.
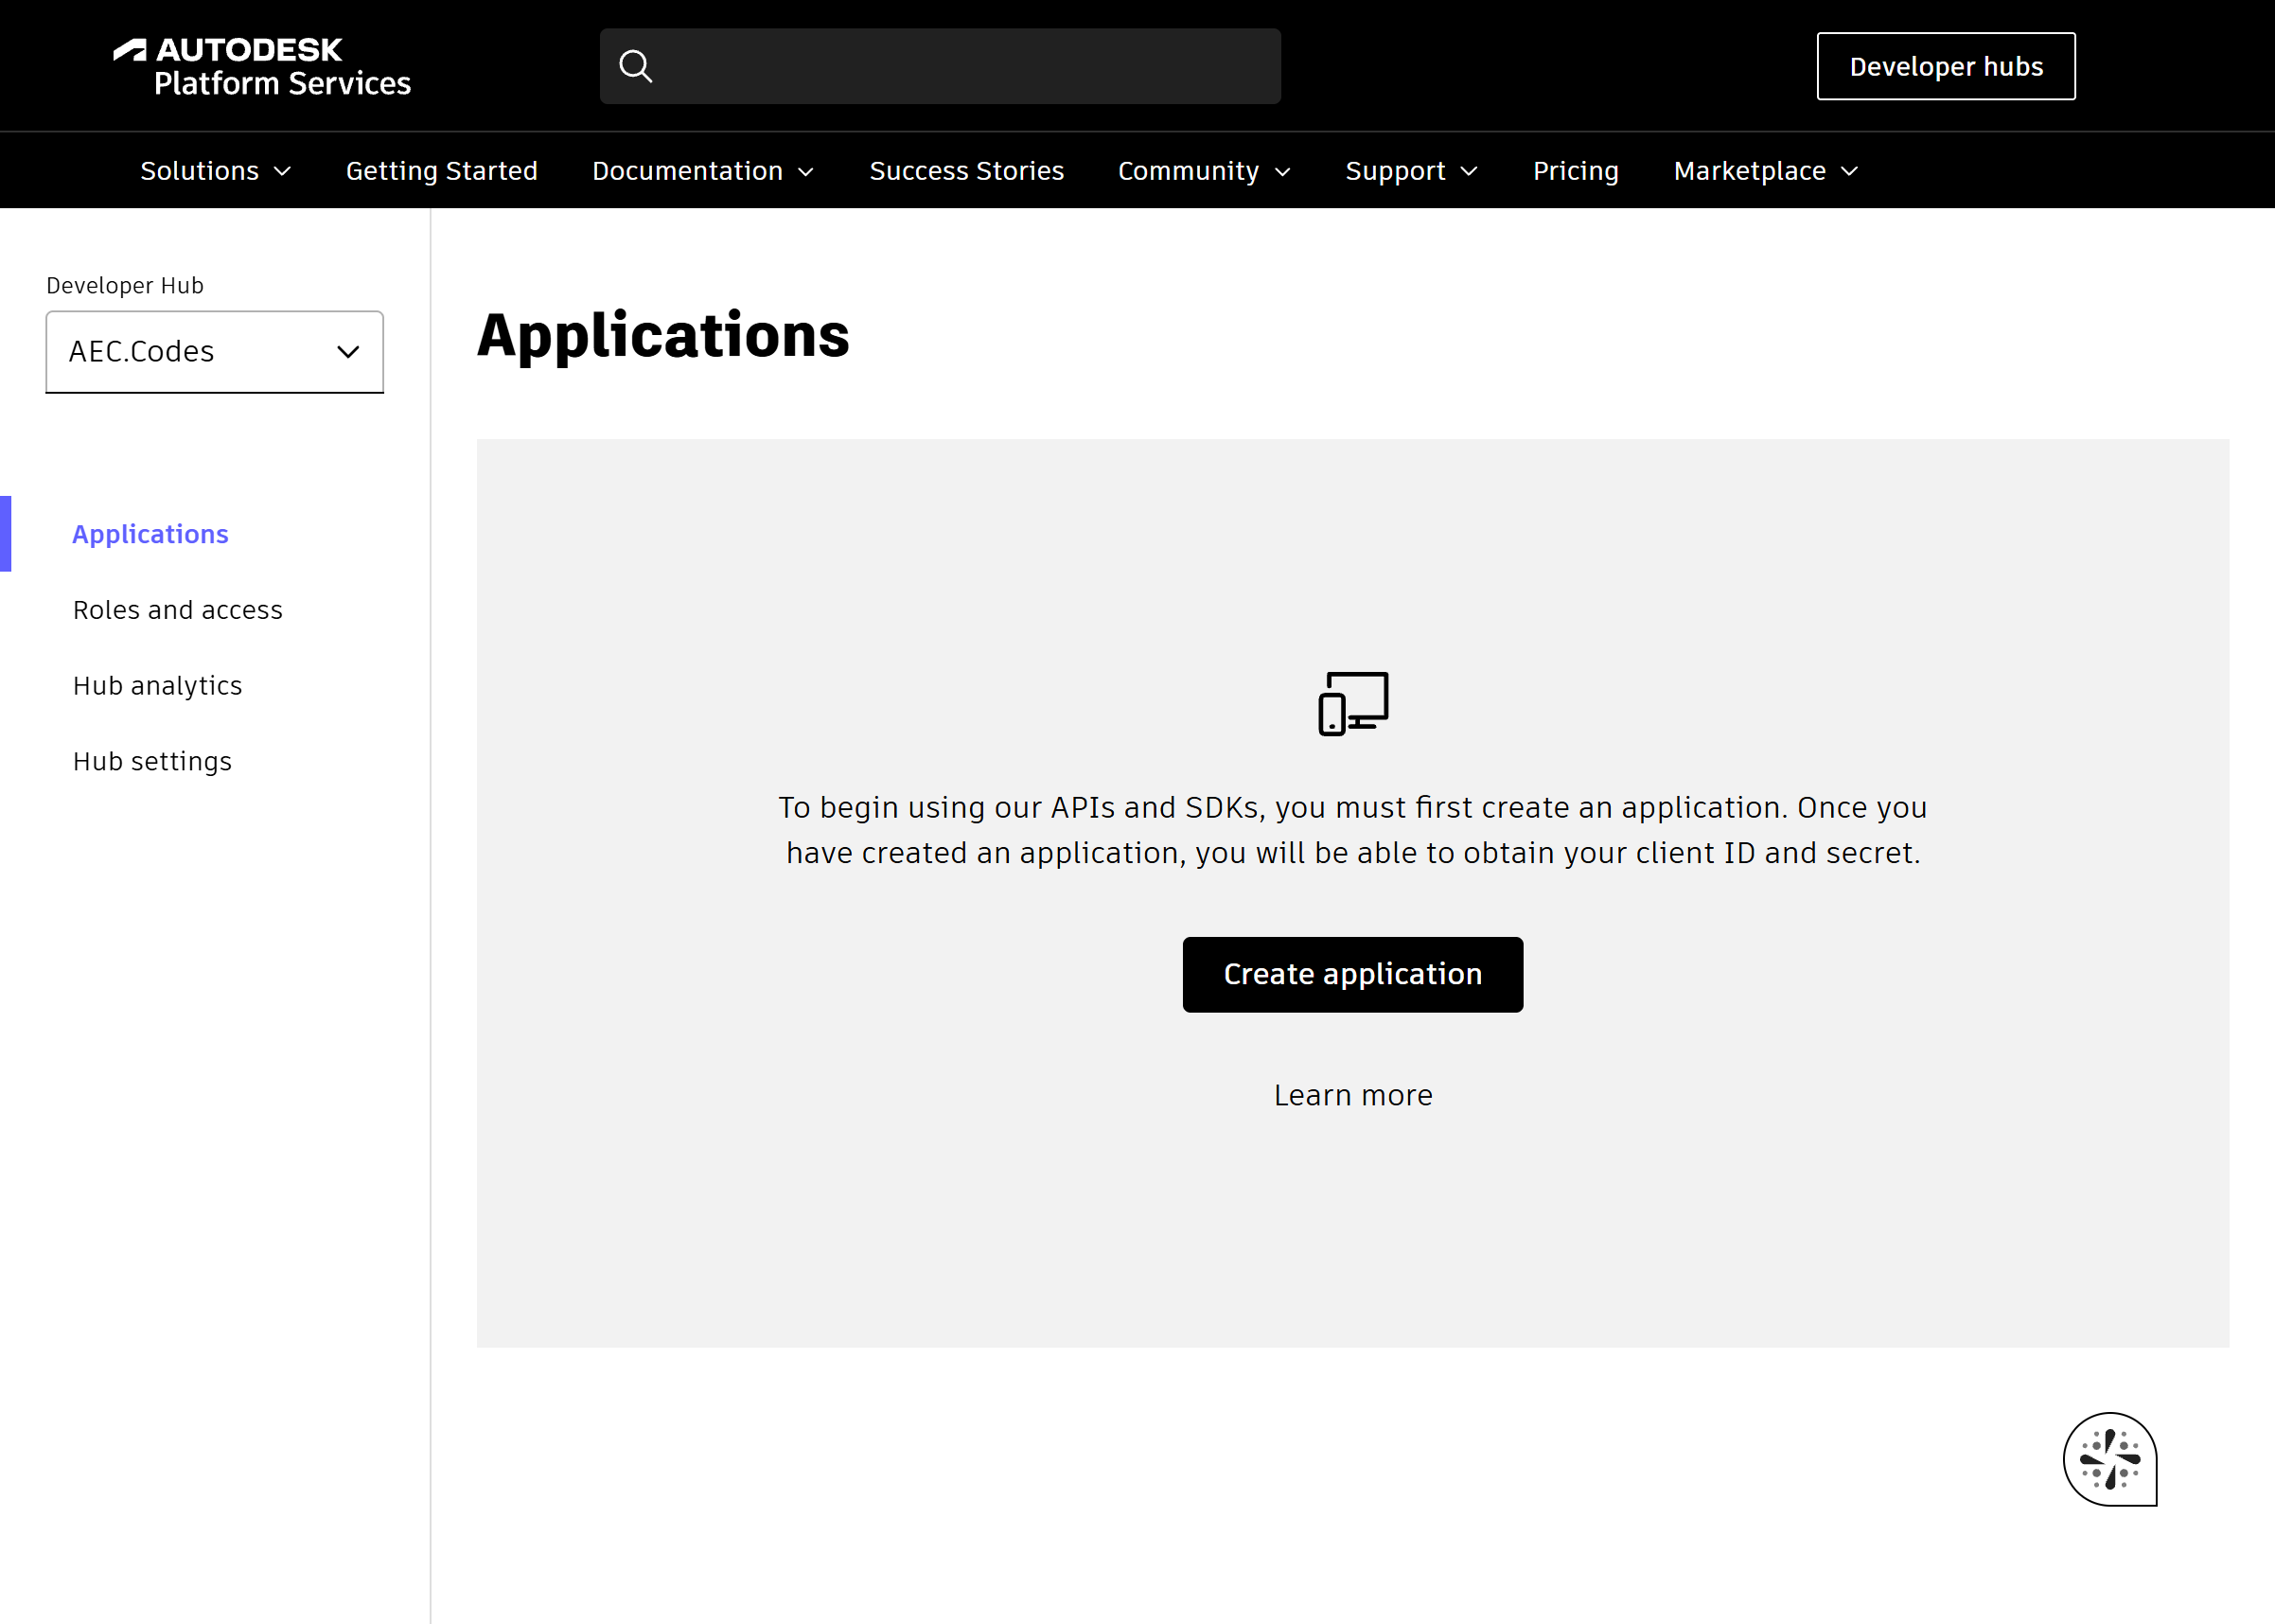
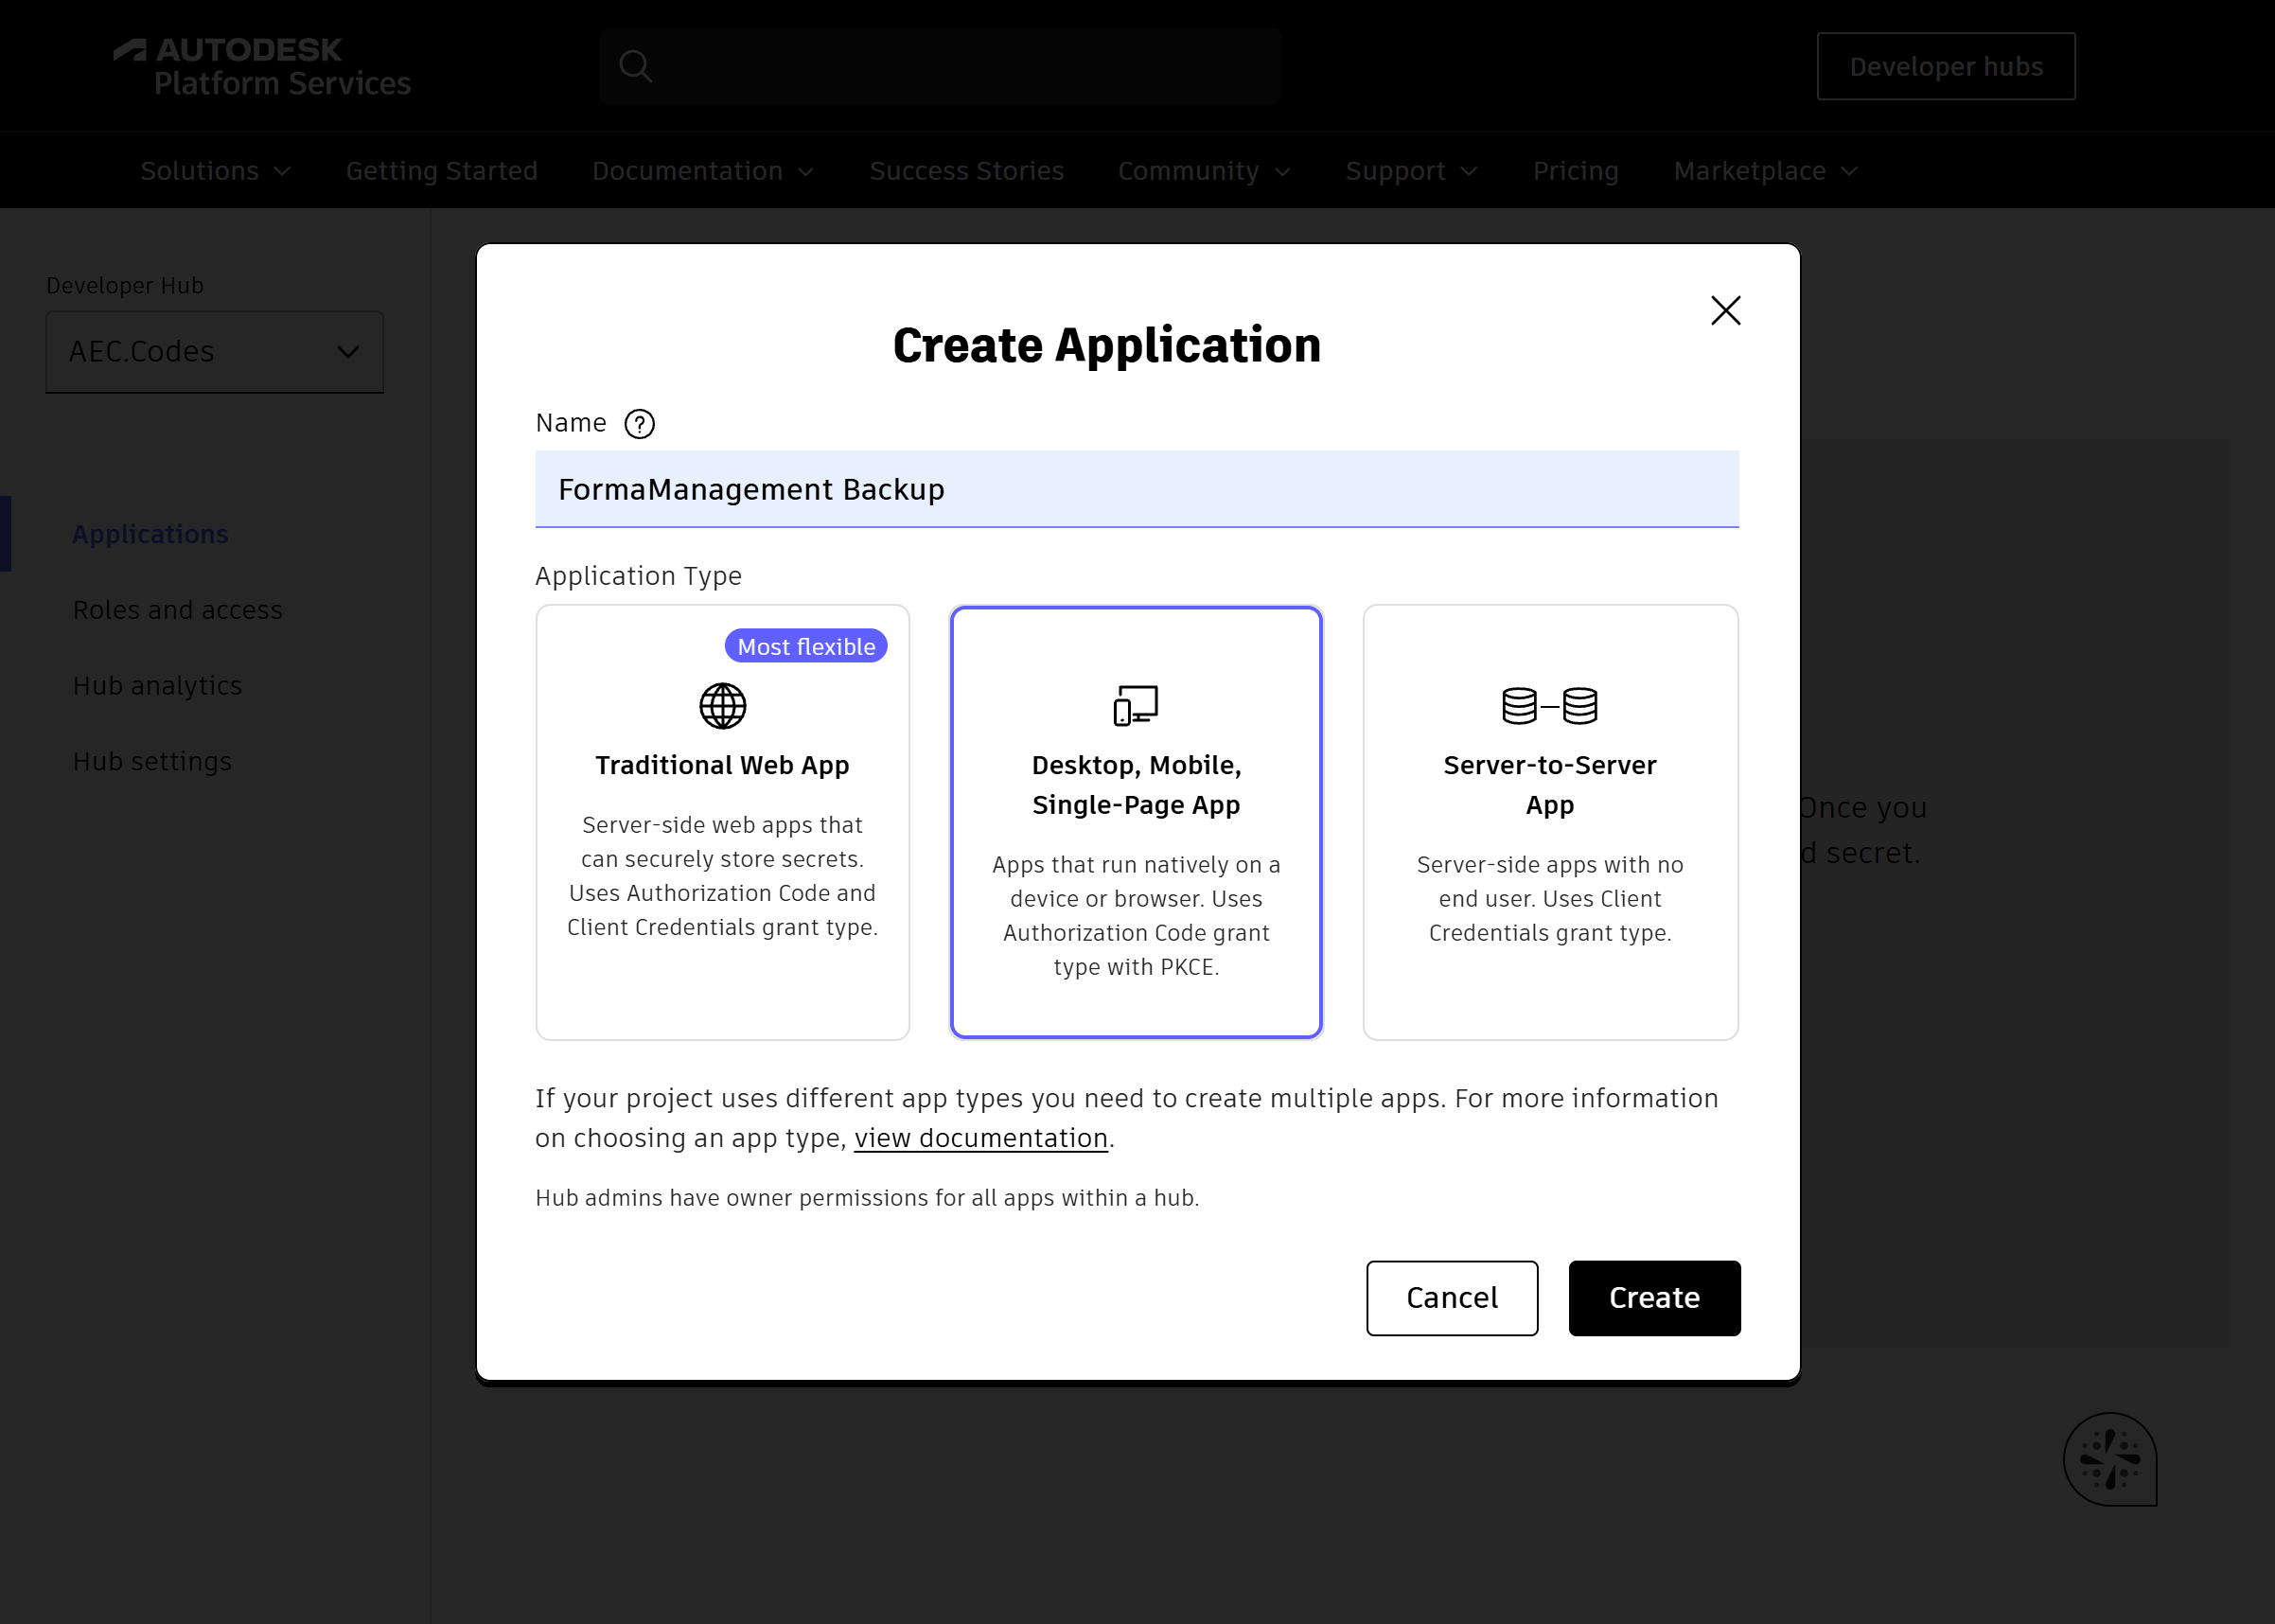
- Give it a name your colleagues will recognise, choose Desktop, Mobile, Single-Page App, and click Create.
Application type: "Desktop, Mobile, Single-Page App". This is the mistake an inattentive reader makes first. Any other type issues a client secret and a flow that does not behave as PKCE expects.
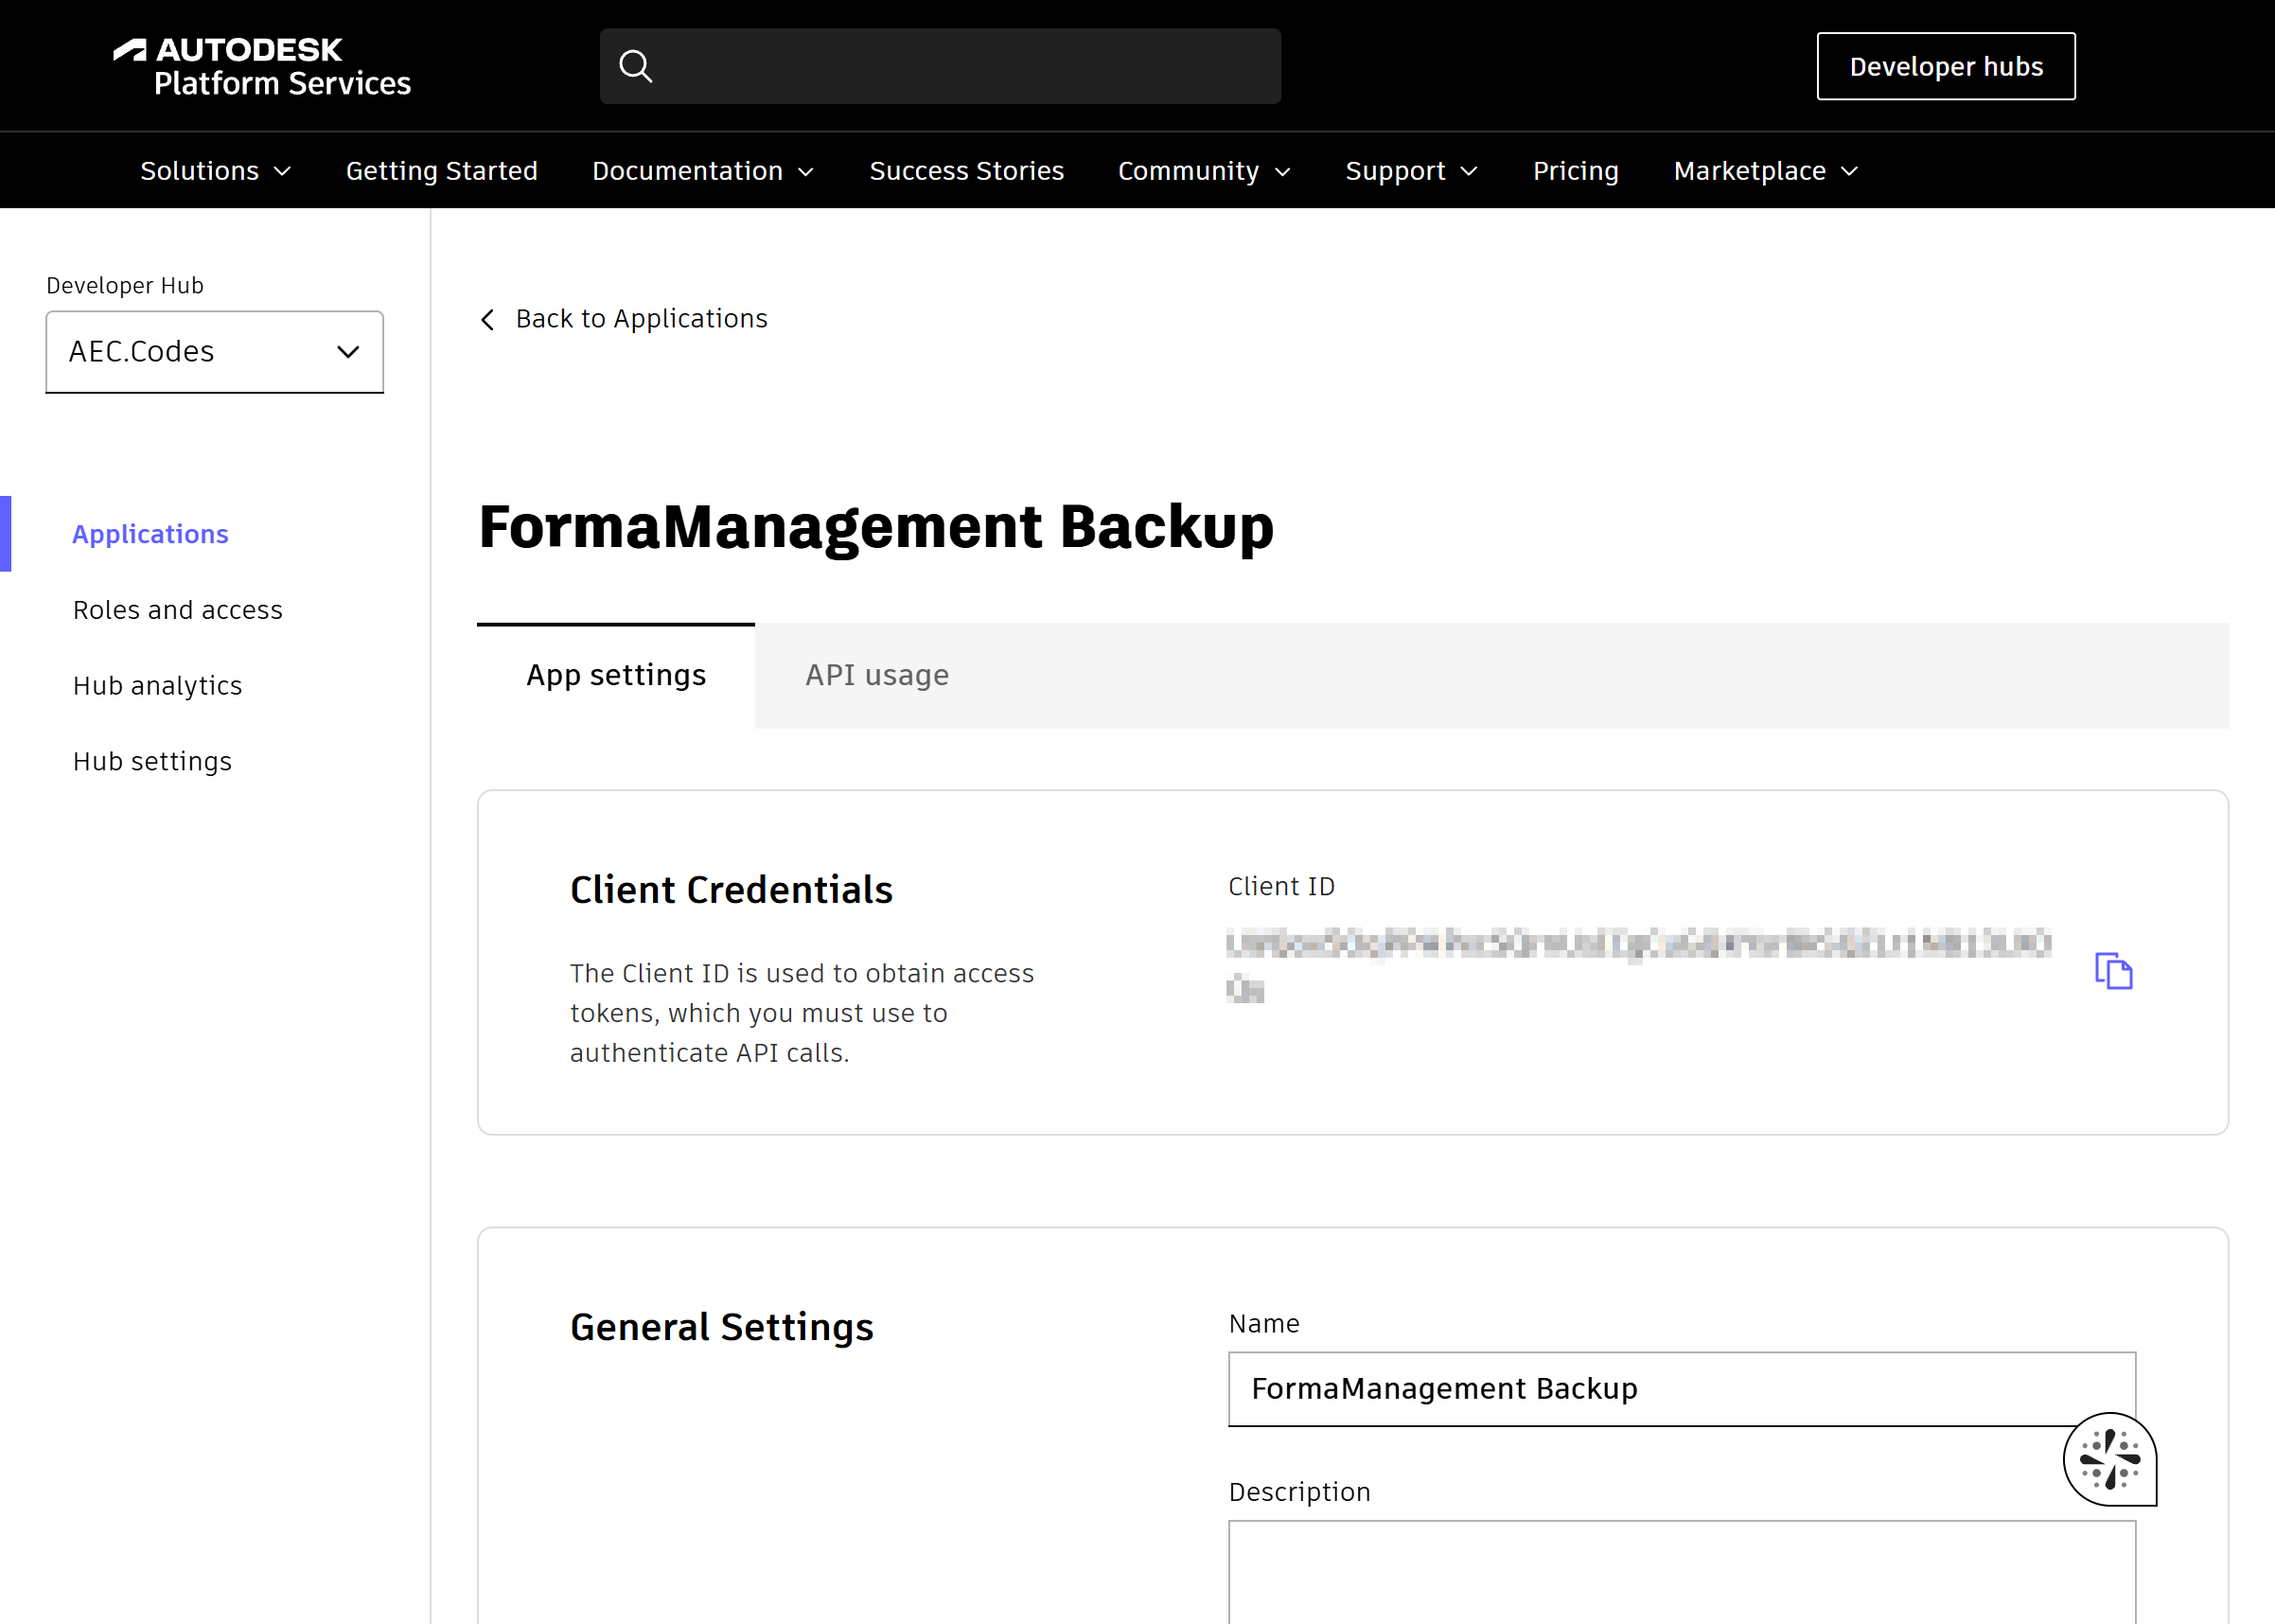
- The app opens on App settings. Under Client Credentials, copy the Client ID with the copy icon; you paste it in Step 4. No client secret is shown: if you see one, the application type is wrong.
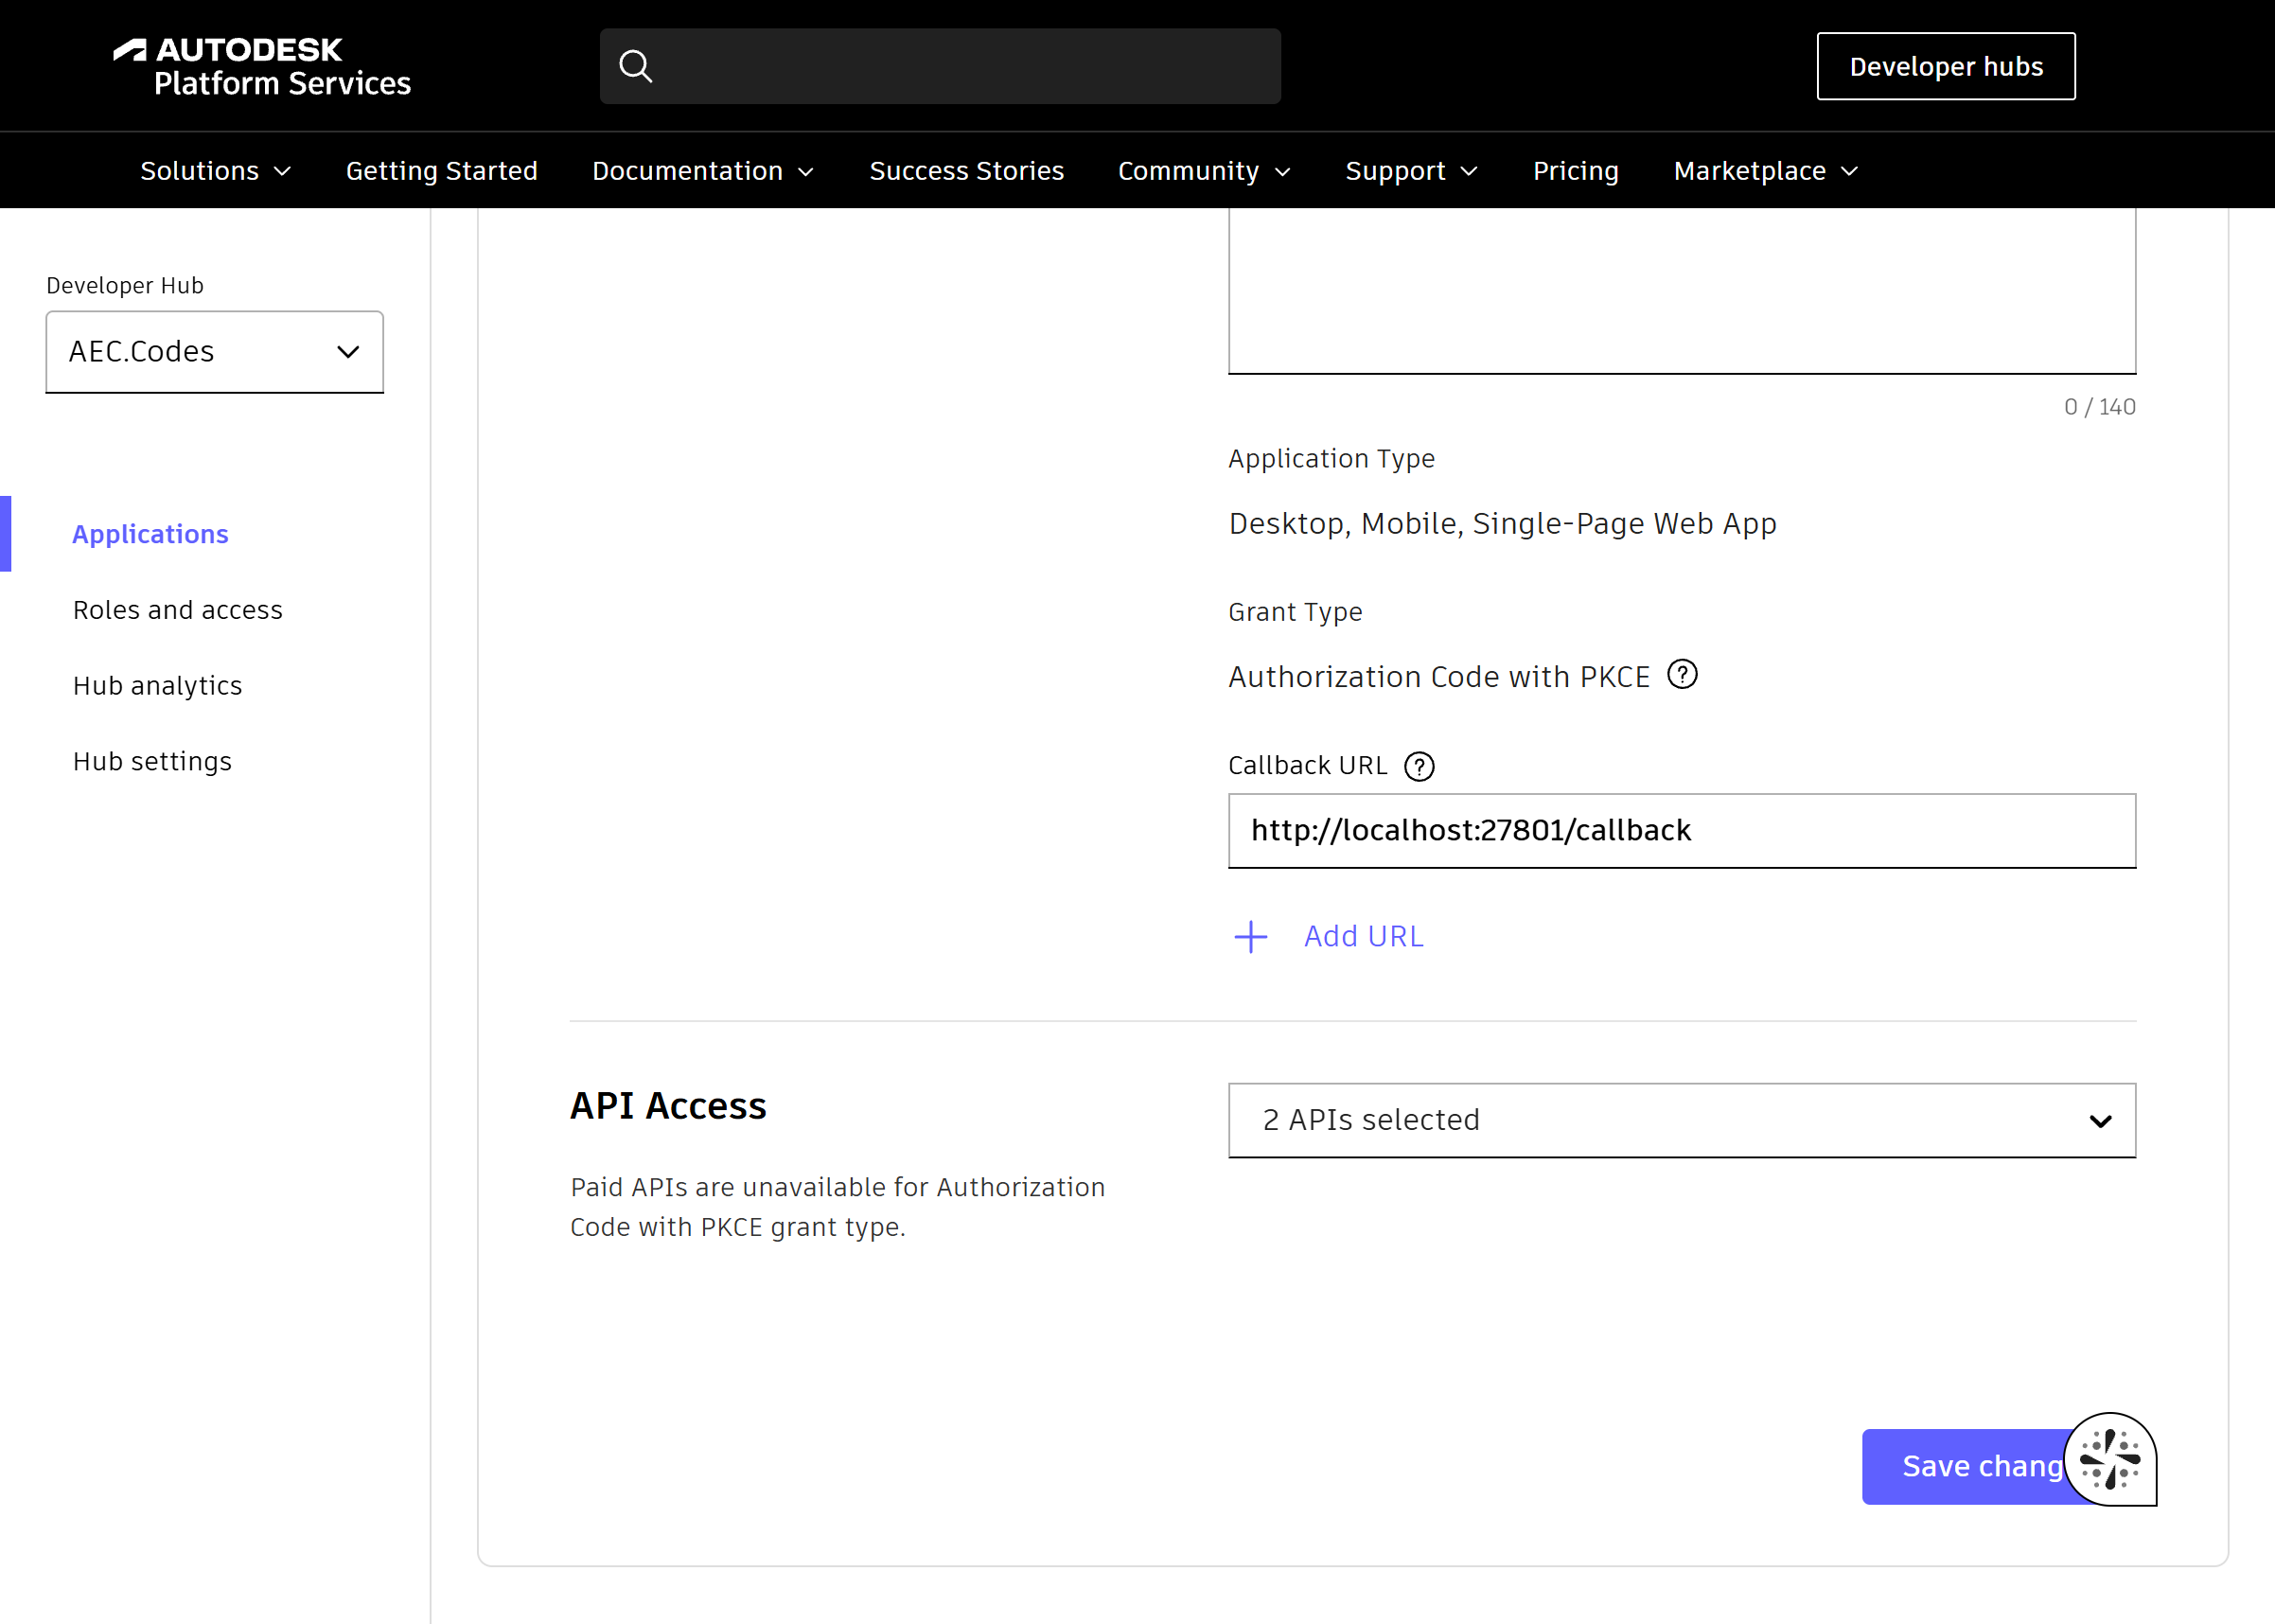
- Scroll to General Settings. In Callback URL enter exactly the address below.
http://localhost:27801/callback
No trailing slash, http not https, and localhost not 127.0.0.1.
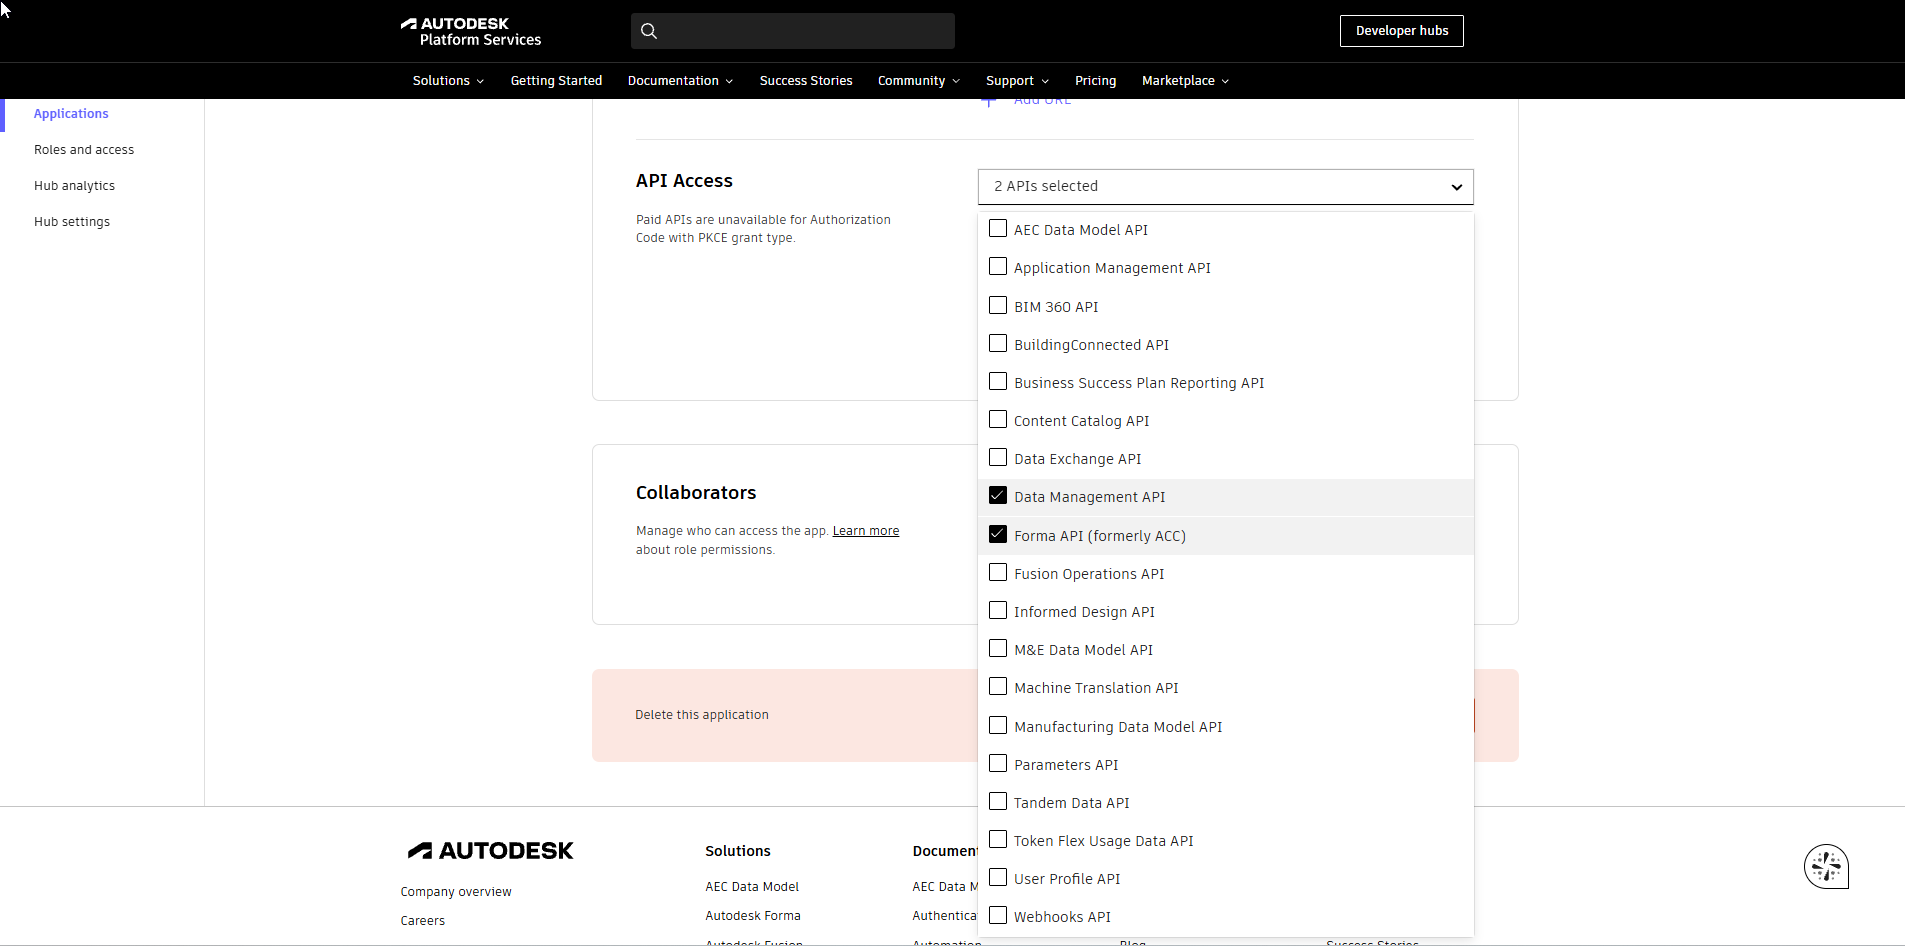
- In API Access open the list and tick Data Management API and Forma API (formerly ACC); the field then reads "2 APIs selected". There is no separate "Authentication" entry; sign-in works without one. Click Save changes.
Share the client ID with your hub admin and the colleagues who will run the backup; there is no need to pass it further. More →
Apps live in a developer hub. If you created your app earlier on the legacy "My Applications" page, it stops working with the message "Application must be assigned to a Developer Hub.". Fix: A team admin creates a hub (manage.autodesk.com → Products and Services → Hubs → Create Hub → APS developer hub → Create & Activate), invites the app owner, who uses "Move App to developer hub".
Step 2 — Get your app enabled on the hub
Once per hub, by a hub admin. If that's you, follow the page for your hub admin yourself. If not, send them that page with your client ID. Until this is done, the hub does not appear in Backup Sorcery. Nothing is wrong with your setup when that happens.
Step 3 — Install
Download from the download page (free registration with email) and check the SHA-256 shown on the page.
The download is BackupSorcery-<version>-setup.exe. Backup Sorcery comes as a Windows installer (.exe) that adds a Start menu entry for the window.
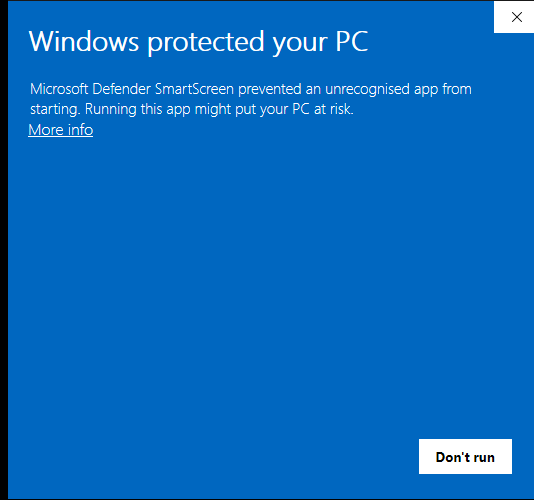
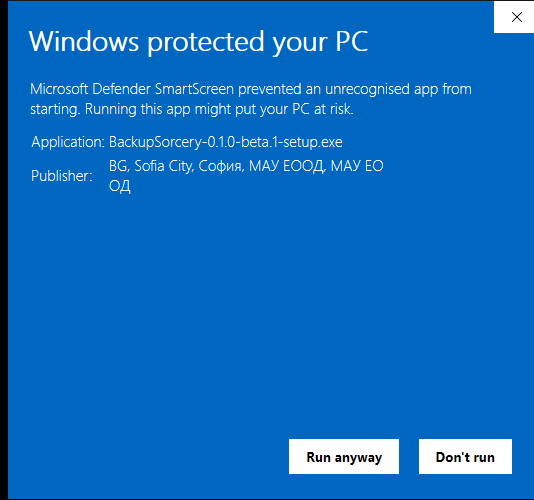
When you run the setup, Windows may show Windows protected your PC. Click More info, check that Publisher names МАУ ЕООД, then click Run anyway. The installer, its uninstaller and the app are signed by МАУ ЕООД with Azure Artifact Signing, the same publisher identity every release. Windows builds trust in a new publisher over time, so SmartScreen may still ask: More info → Run anyway.
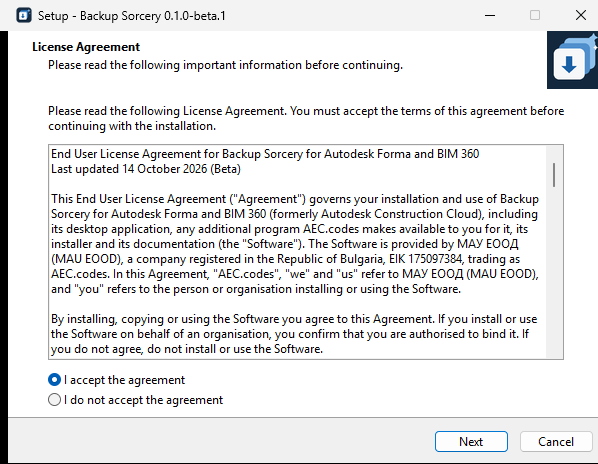
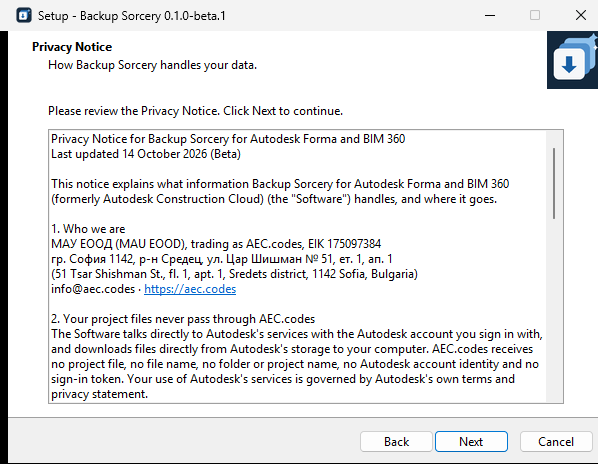
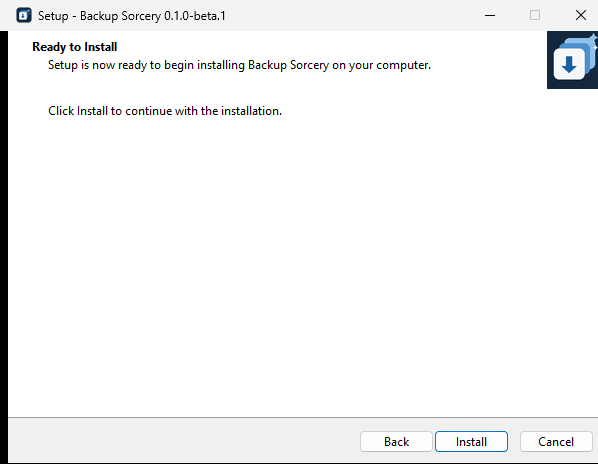
Accept the License Agreement, read the Privacy Notice, and click Install.
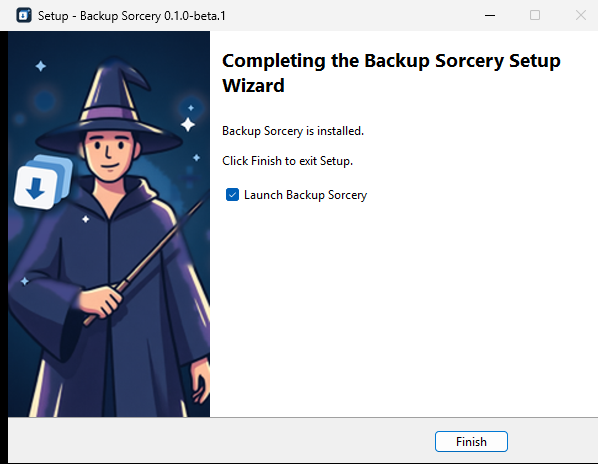
Leave Launch Backup Sorcery ticked and click Finish.
Step 4 — Paste the client ID
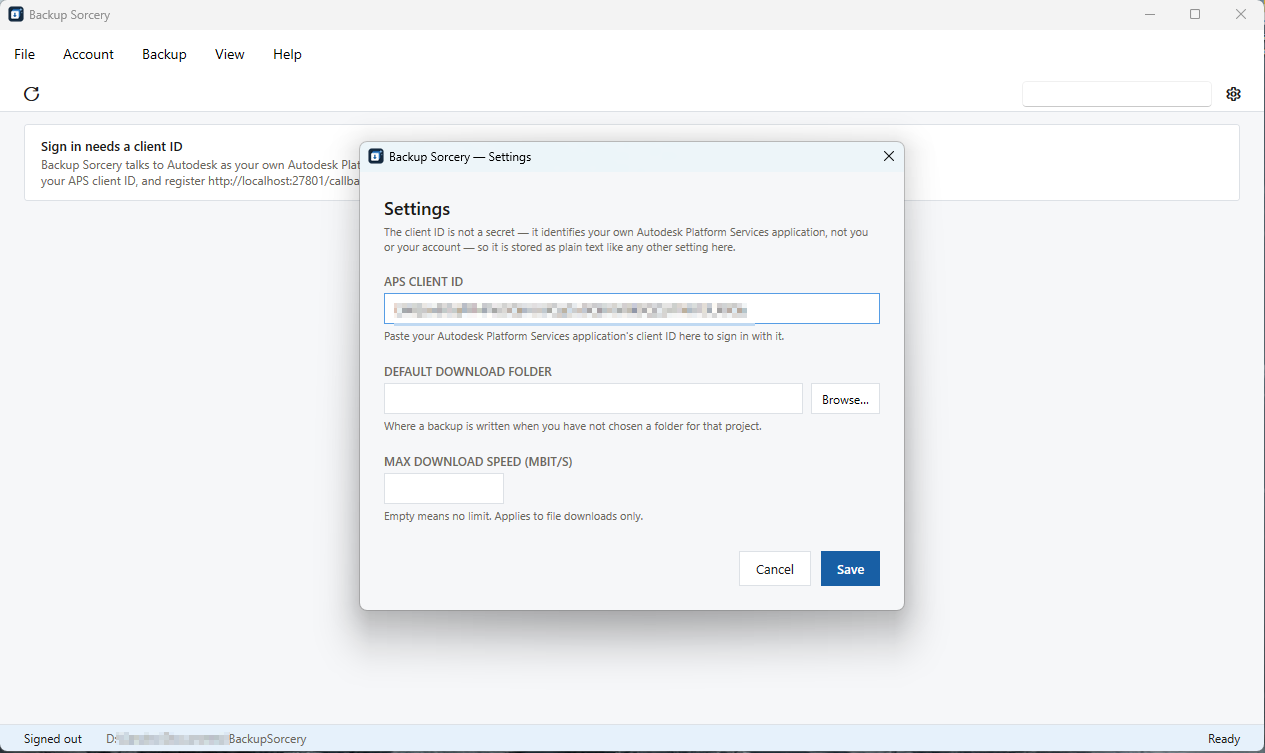
On first start the app shows Sign in needs a client ID.
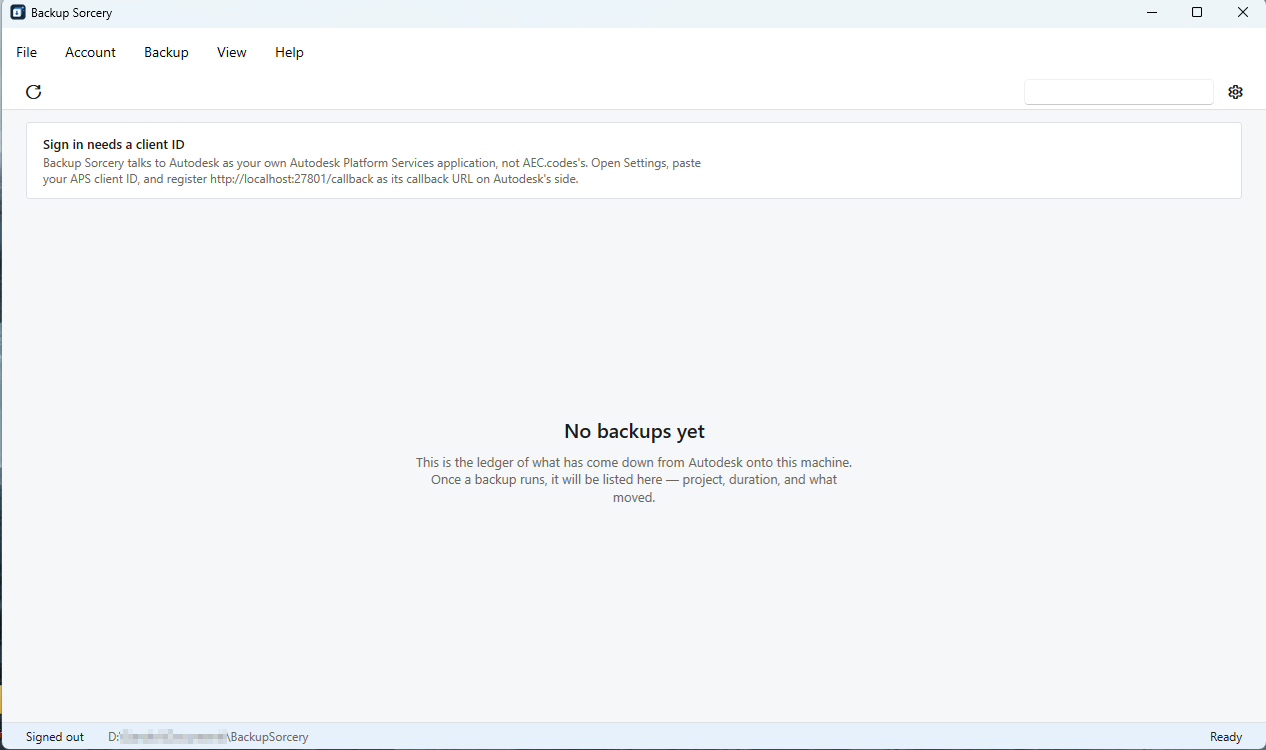
Click the gear icon (top right) to open Settings, paste the client ID into APS CLIENT ID, and click Save. Two fields are optional: DEFAULT DOWNLOAD FOLDER is where backups go unless you choose a folder for a project, and MAX DOWNLOAD SPEED (MBIT/S) caps the download speed (empty means no limit). The client ID is an identifier, not a password, and is stored as plain text.
Step 5 — Sign in
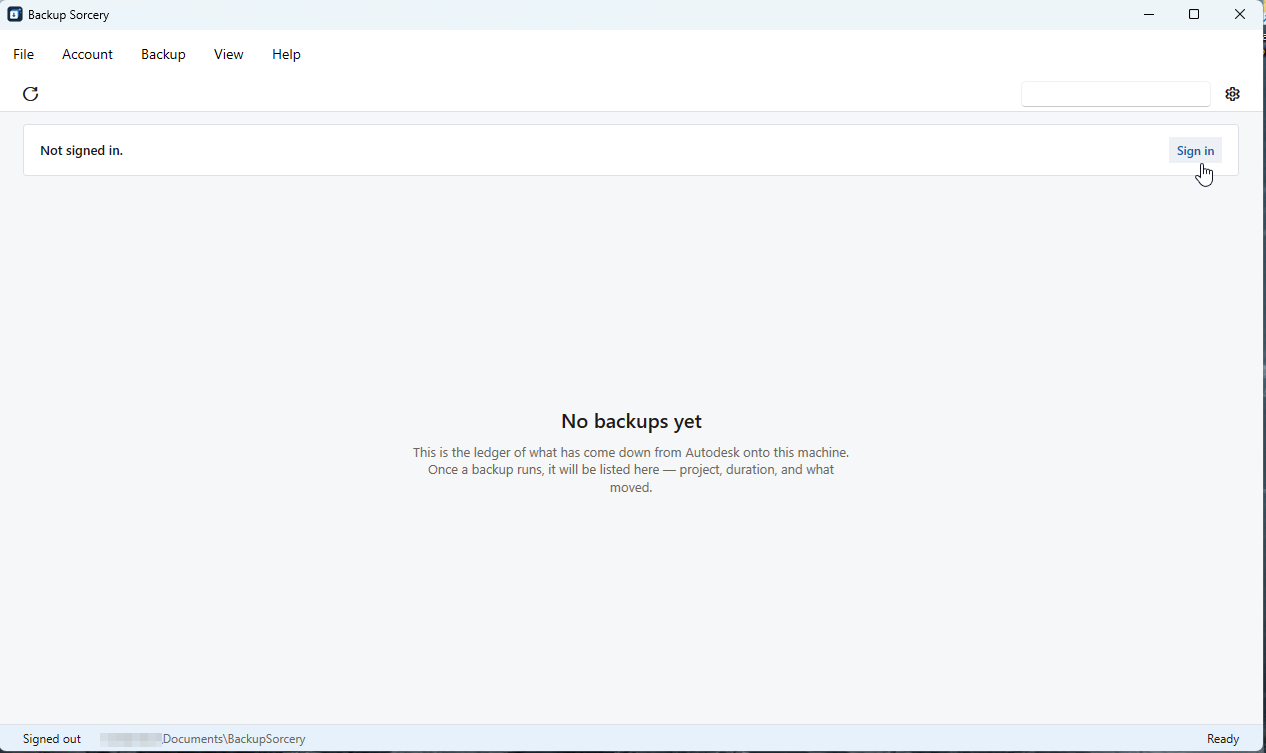
Click Sign in.
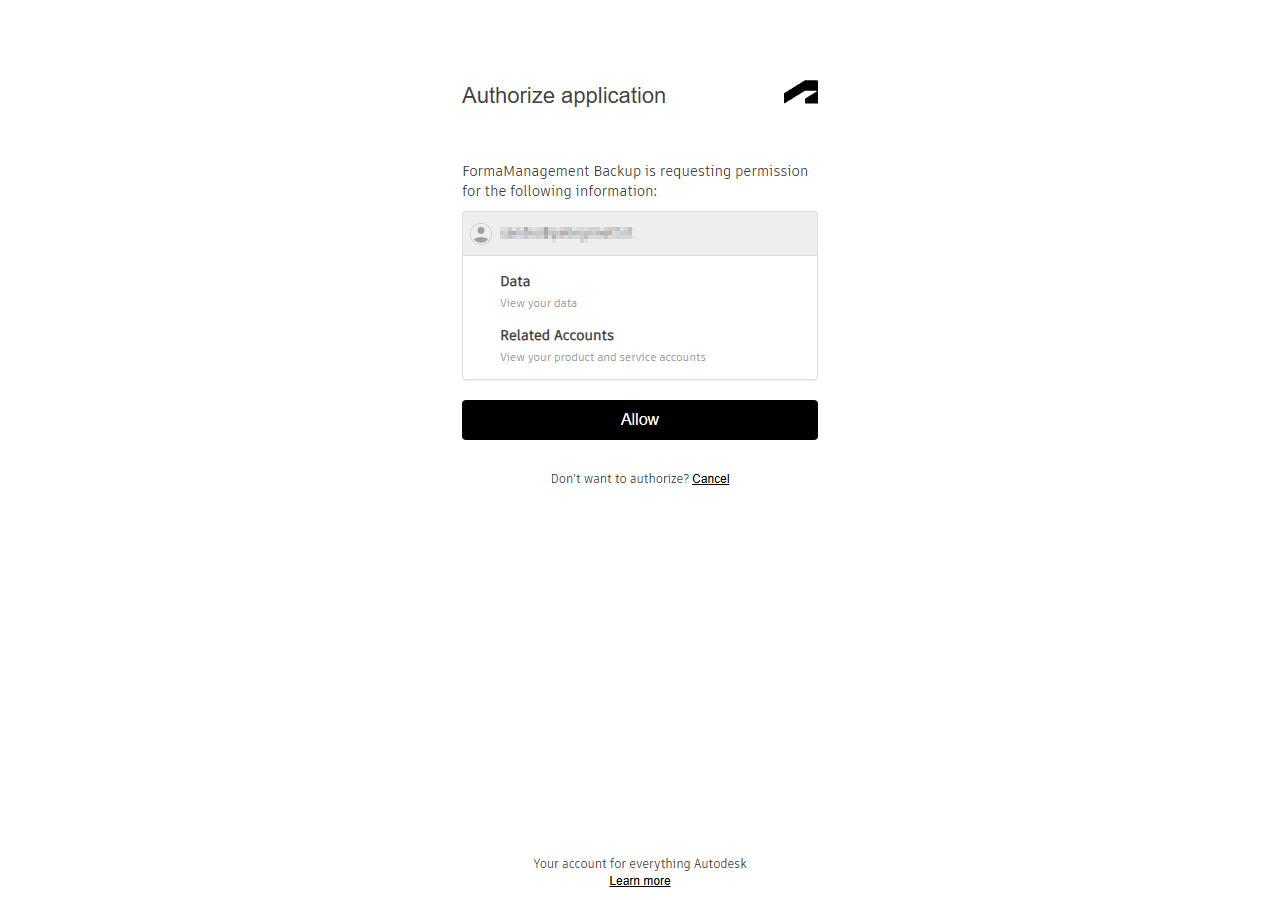
Your browser opens Autodesk. Sign in with the account whose projects you want to back up. Autodesk asks you to Authorize application: it names your app and lists Data and Related Accounts. Click Allow.
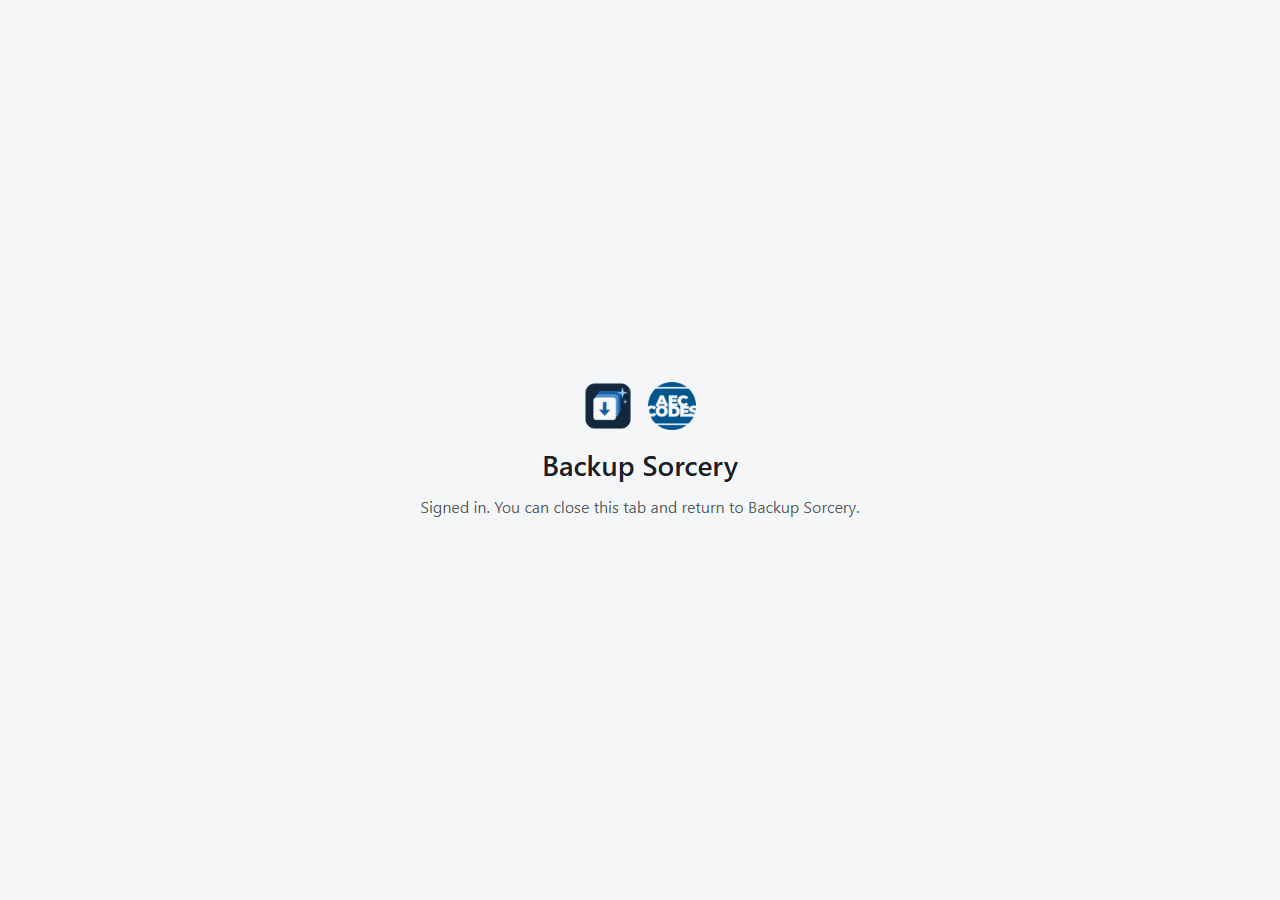
The page says you are signed in and can close the tab. The app keeps you signed in between sessions; the saved sign-in is encrypted for your Windows user.
Step 6 — See what is in your projects
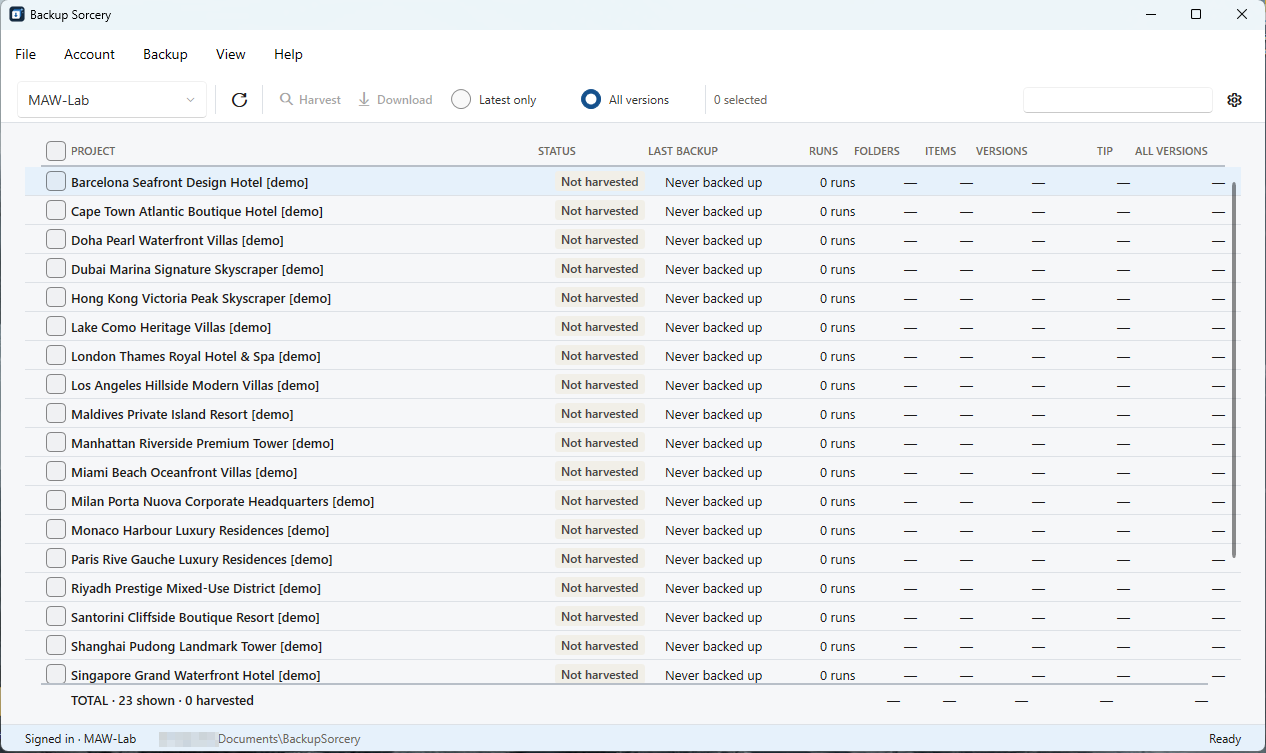
The hub list in the toolbar shows your hub. The grid lists the projects your account can open, all Not harvested for now.
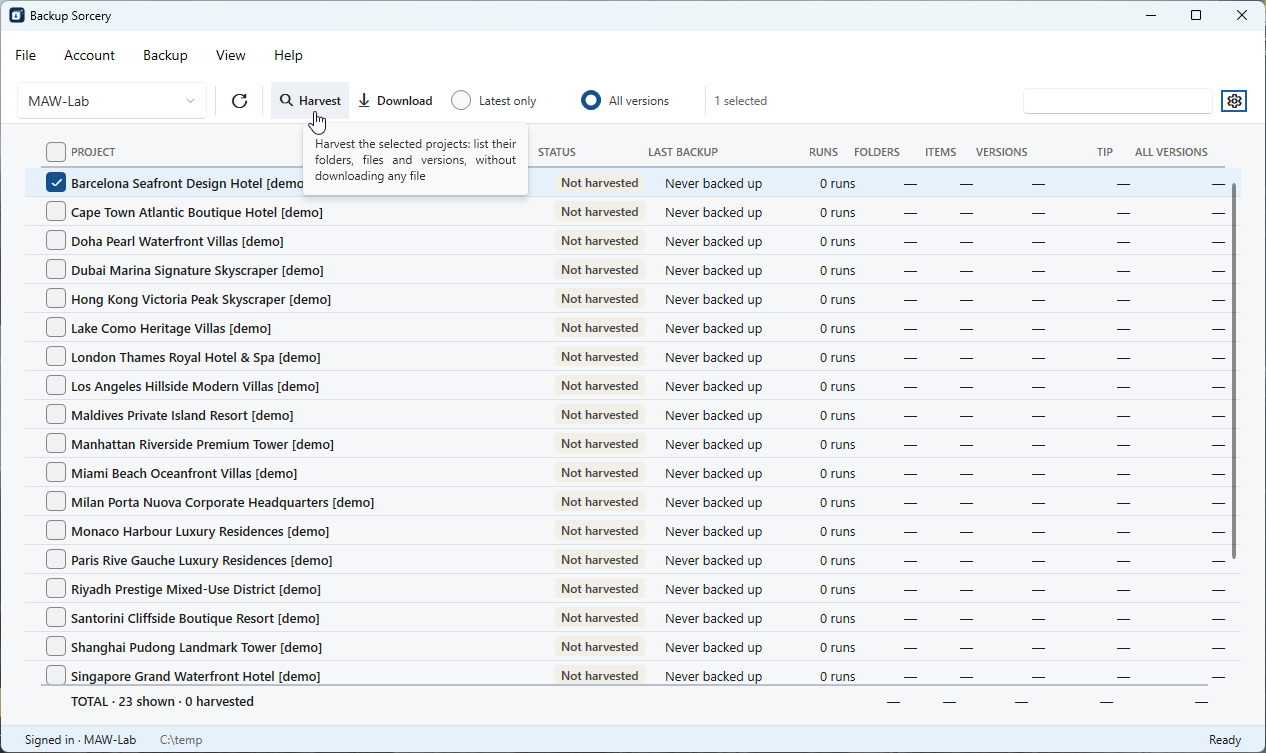
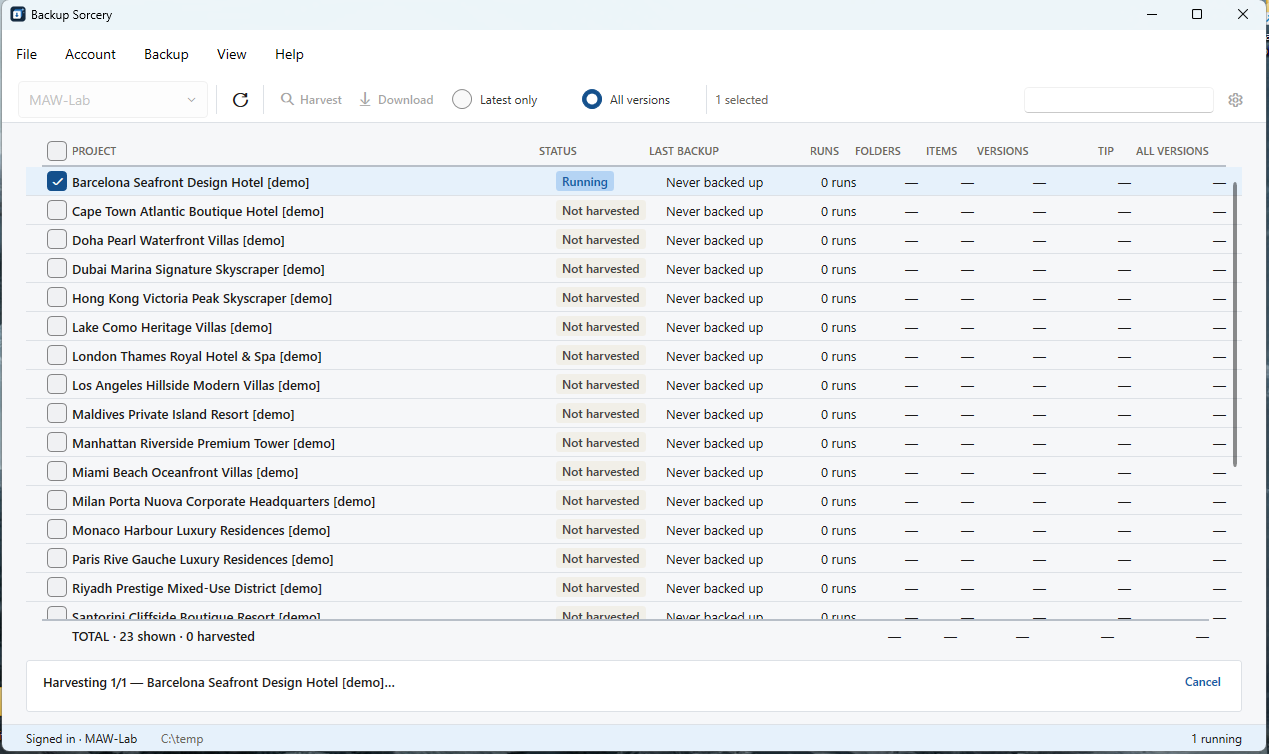
Tick one or more projects and click Harvest. It lists their folders, files and versions without downloading any file.
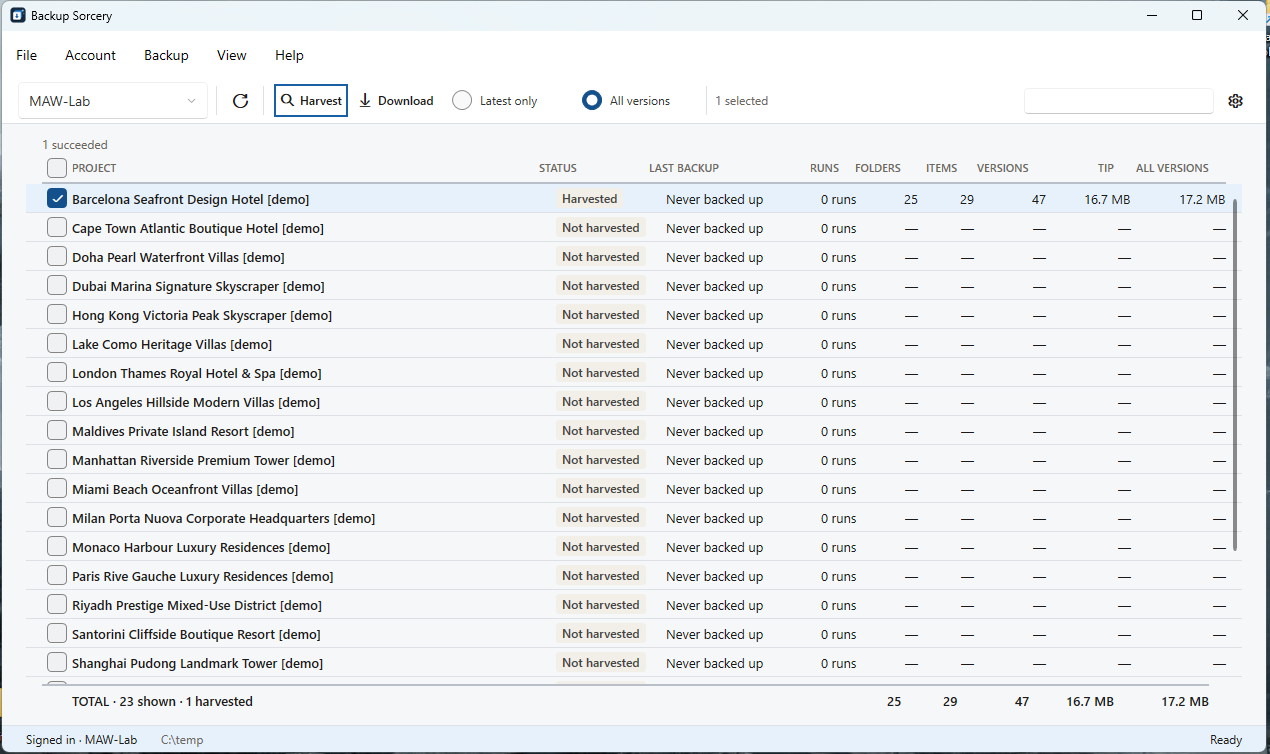
When it finishes the status is Harvested. The columns show folders, items and versions, the size of the latest versions (Tip) and the size of every version (All versions). The TOTAL row adds up the selection.
Step 7 — Download
Choose Latest only or All versions and click Download.
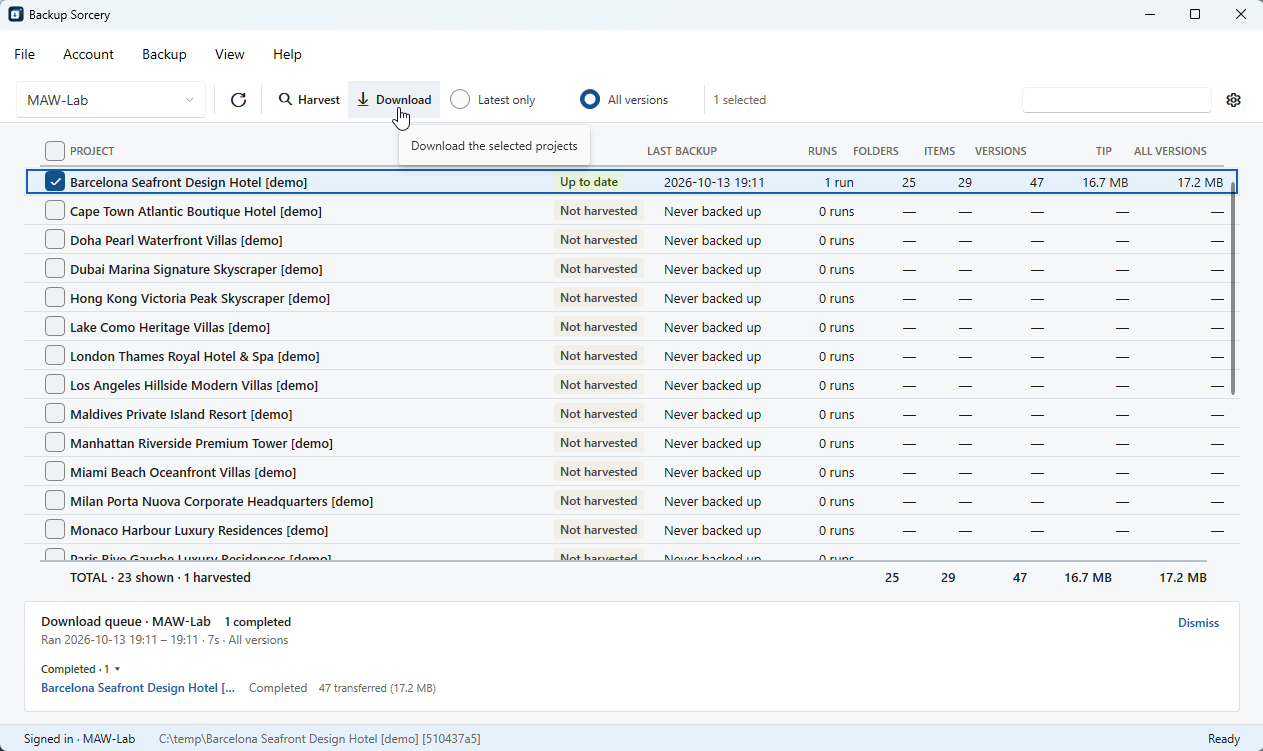
The panel at the bottom shows the progress. Stop this project and Stop queue stop the run.
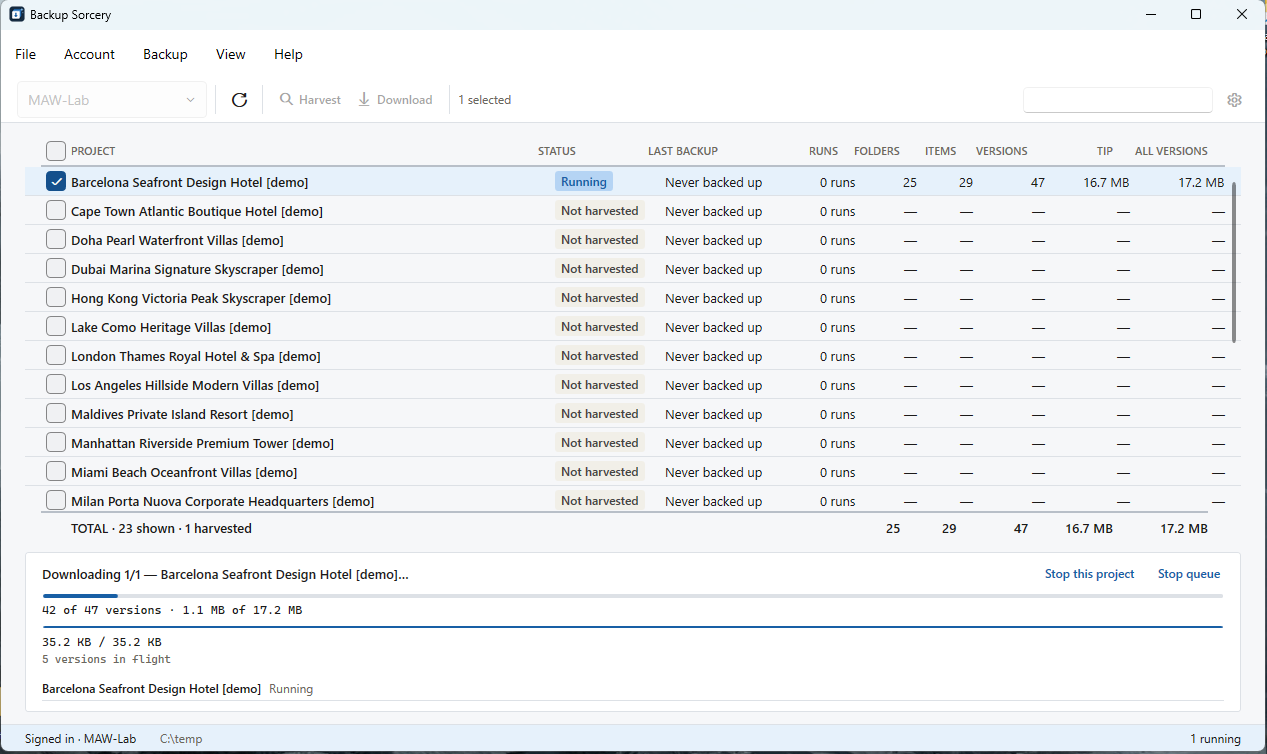
When it is done the project shows Up to date and the Download queue says what was transferred.
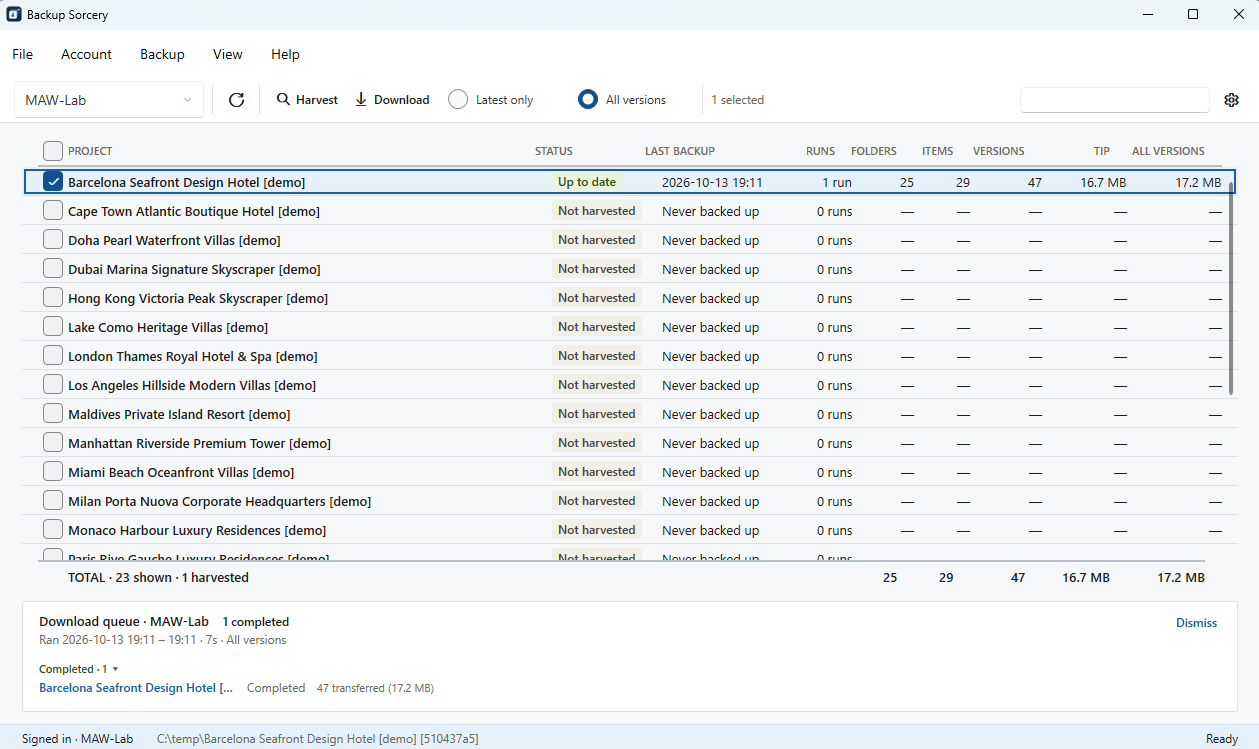
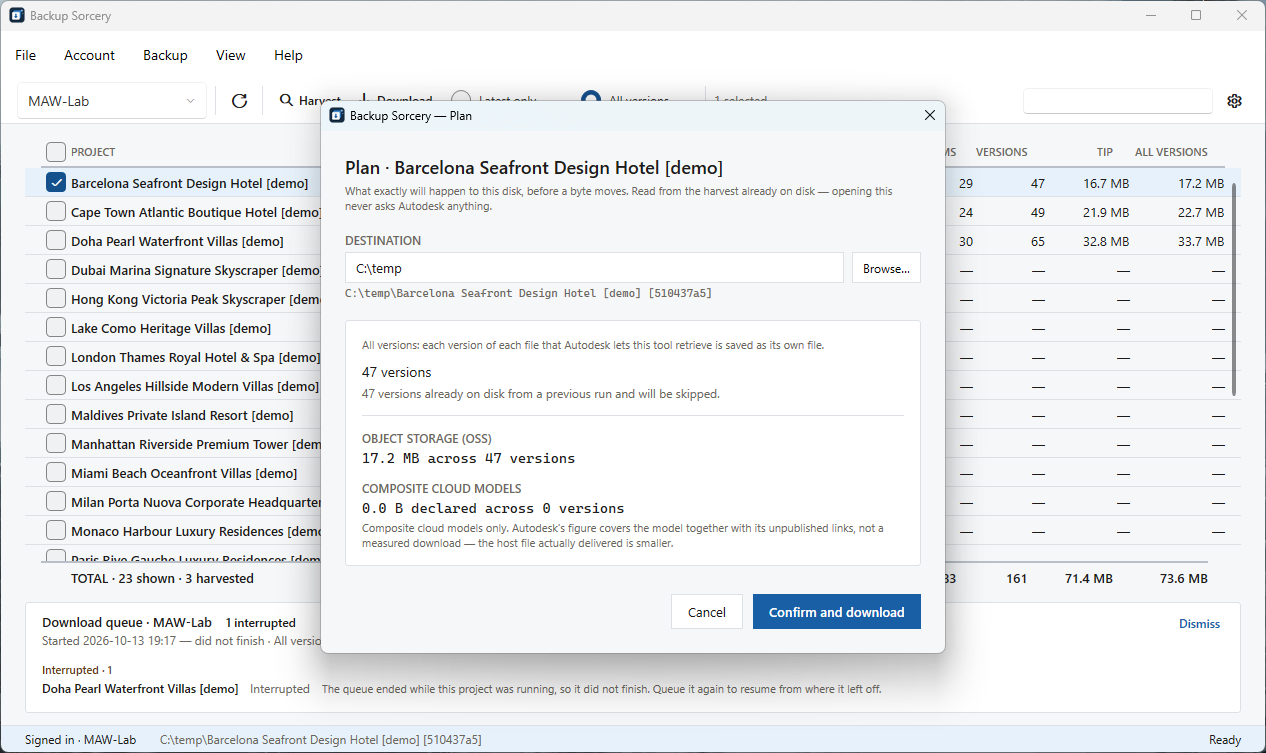
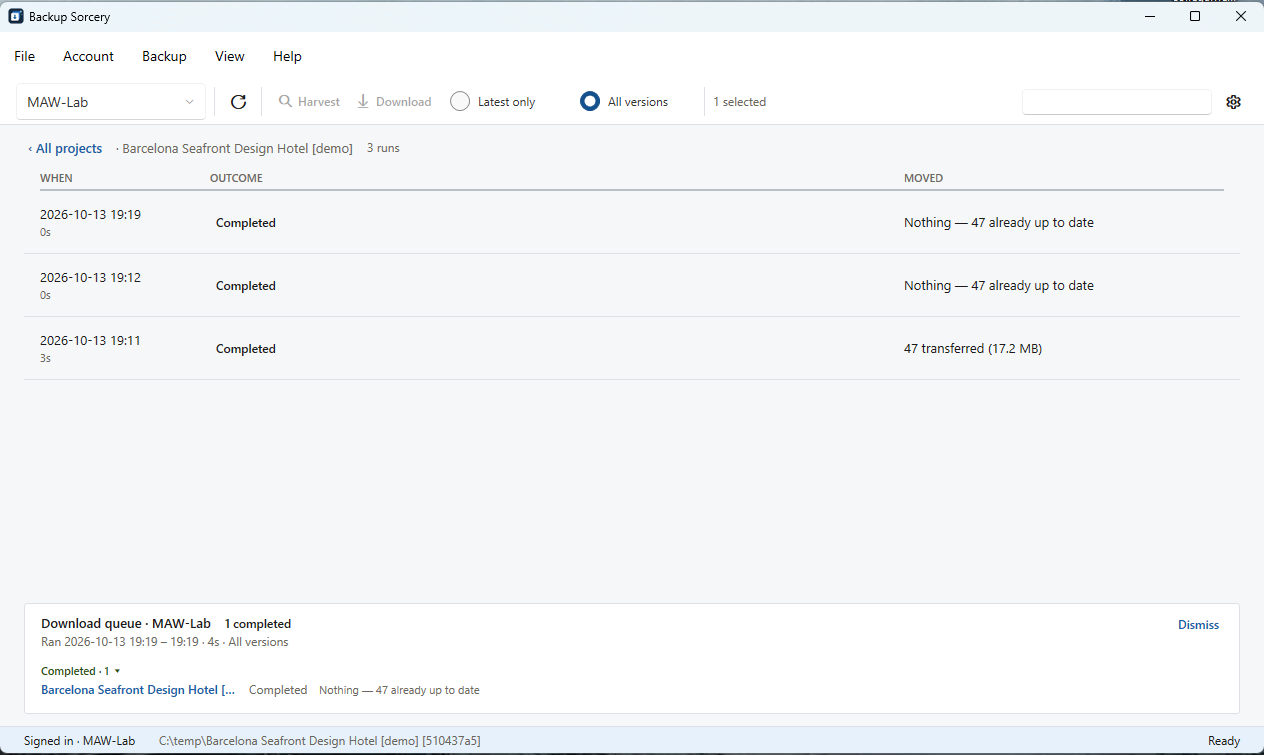
The next run moves only what changed ("Nothing — 47 already up to date" in the history below). A run that stopped before the end resumes where it left off when you queue it again.
Step 8 — Plan, history and folder (optional)
Right-click a project.
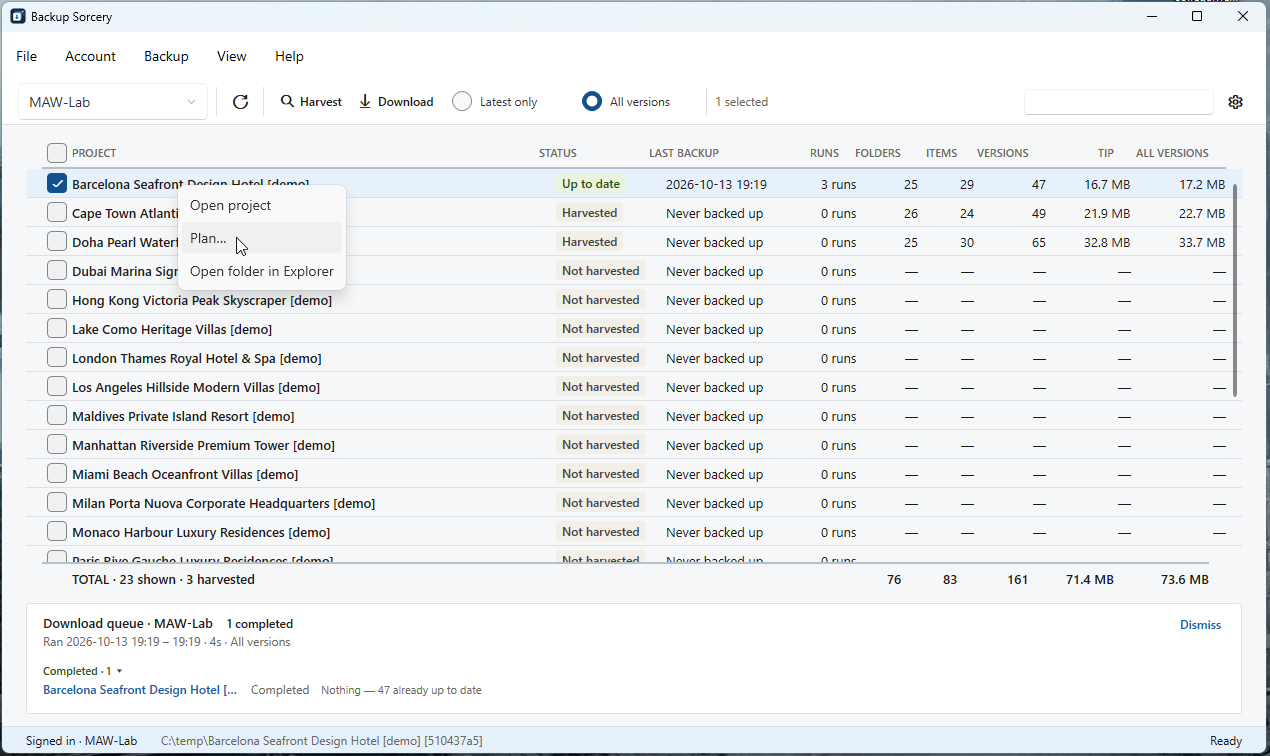
- Plan… shows the destination (Browse changes it for that project), what will be downloaded and what is already on disk, and starts with Confirm and download.
- Open project shows its run history.
- Open folder in Explorer opens the backup folder.
Step 9 — Check your copy
You can verify the backup with Windows' own tools: check your backup without the app.
When something goes wrong
Sign-in fails right after the Autodesk page
Likely cause: the callback URL in the app is not exactly http://localhost:27801/callback.
Fix: correct it in your Autodesk app.
Sign-in never returns to the app
Likely cause: port 27801 is taken by another program, or reserved by Windows.
Fix: Close the other program.
To check, in PowerShell:
Get-NetTCPConnection -LocalPort 27801 -ErrorAction SilentlyContinueEmpty output means nothing is using the port.
netsh interface ipv4 show excludedportrange protocol=tcpThe port is reserved by Windows if 27801 falls inside one of the listed ranges.
A client secret was shown when creating the app
Likely cause: wrong application type.
Fix: create a new app of type "Desktop, Mobile, Single-Page App".
The hub is not listed
Likely cause: the app is not enabled on that hub.
Fix: see the page for your hub admin.
Some folders or files are missing
Likely cause: your account cannot open them in the hub either.
Fix: ask for folder permissions; the app inherits them.
It worked, then stopped on its own
Likely cause: your app was created on the legacy page and is not assigned to a developer hub; Autodesk's message says so.
Fix: see the note in Step 1.